
Microsoft has a new way of managing their servers. It’s great, simple, fast, and makes your life much easier.
Several of us heard this and immediately thought, “Oh, like Server Manager, MMC, Computer Manager, RSAT, PowerShell, and Server Manager again ….” It’s an old story, however, there’s a trick this time. This one is actually pretty cool.
It seems that after a decade of low adoption of server core, specifically because managing it was an absolute nightmare (unless you were a large-scale, heavily automated shop). If you doubt me on this, go pull hardware driver information from a server core box with normal management tools and let me know how that goes for you. Microsoft, however, has finally listened to our desperate pleas.
This new management tool they’ve created even has a GUI (which seems like a bad word at Microsoft lately). It’s powerful and can do nearly EVERYTHING to the base OS. To be fair, the only way that they were willing to make a GUI is if in the back-end of that GUI it leveraged PowerShell (as this does) but we’ve got a UI!!
This may be a bit tongue in cheek, but if you’ve been following the most recent years of Microsoft, all new features have been PowerShell only. There was no UI. Yes, PowerShell is a GREAT technology, don’t get me wrong, and if you need large-scale automation, you’re still going to use it for everything. But if you don’t have time to sit around all day learning how to do everything from a command prompt because you only manage a few to a few dozen servers (like most of us), it was very inconvenient to be forced to do everything from PowerShell and presented a very steep learning curve.
All of this really came to a head with the announcement that the Semi-annual Channel for servers was going to be Core only. Further, in the 2016 installer, Core became the default and the GUI option (for us Neanderthals) became the “desktop experience” version. Yet remote management of the server was still really difficult.
This is where Windows Admin Center (WAC) comes in.
Windows Admin Center installs on a Windows Server quickly and easily and gives you not just a UI, but a full HTML 5 UI. That’s right, you can pull it up on your phone, your PC, your tablet, your Apple products or Linux … anything that runs HTML 5 (so, comically, not the only browser Microsoft lets you have on Windows Server 2016, Internet Explorer). As opposed to previous versions of management tools, this one is quick, responsive, and just kind of works without any real effort.
Okay, does that get you interested? If so, let’s dig into this and see what it looks like. We’ll start with one of the simplest installations Microsoft has ever given us:
- Choose where you want to install it. WAC can be installed on either a desktop or a server. It’s a user-by-user experience, so you don’t really get that much by installing it on a server except for putting it in the datacenter where it has more direct links to the servers. Past that, you’ll be managing your own server connections and the software is stateless, so if it gets lost because you rebuild your desktop you just re-do it. No harm no foul.
I normally install it on a server just so that I don’t have to worry about network issues and I can update the software one place, as opposed to on multiple admins’ desktops.
- Goog—Bing Windows Admin Center.
The result should be this page (#1 if you use Google, #2 if Bing): https://docs.microsoft.com/en-us/windows-server/manage/windows-admin-center/understand/windows-admin-center
Click on a download for either the preview or the GA version. They release this product MONTHLY. That’s right, monthly. As Ned Pyle (a Principal Program Manager at Microsoft) said: “So we’ll have 12 times a year to disappoint you.” Either way, with updates so frequently, you’re not at huge risk doing either the preview or the GA code, as both are going to be moving forward soon.
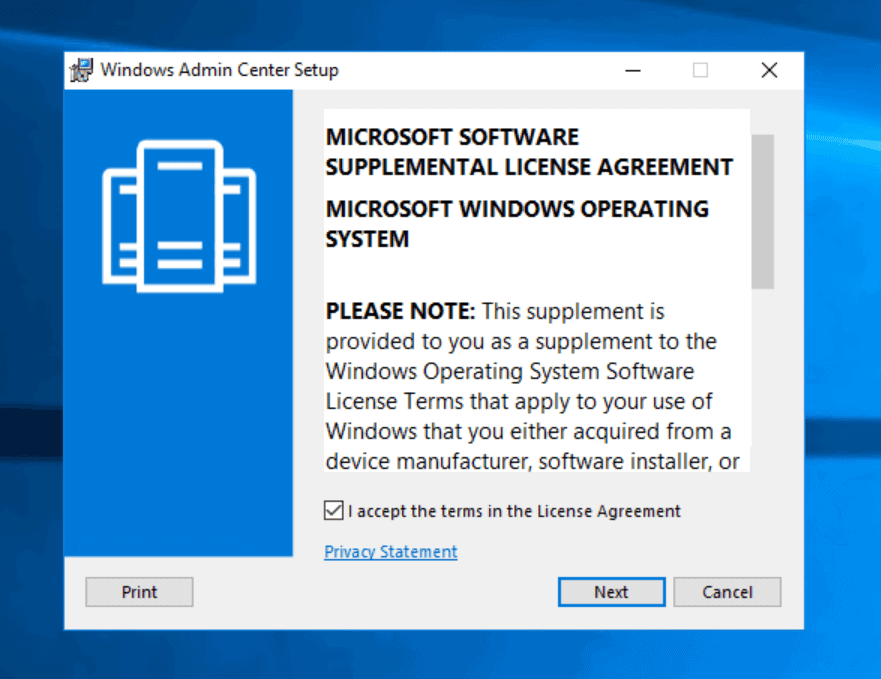
- CAREFULLY read the EULA (like you always do) and then check the accept terms button and click next.
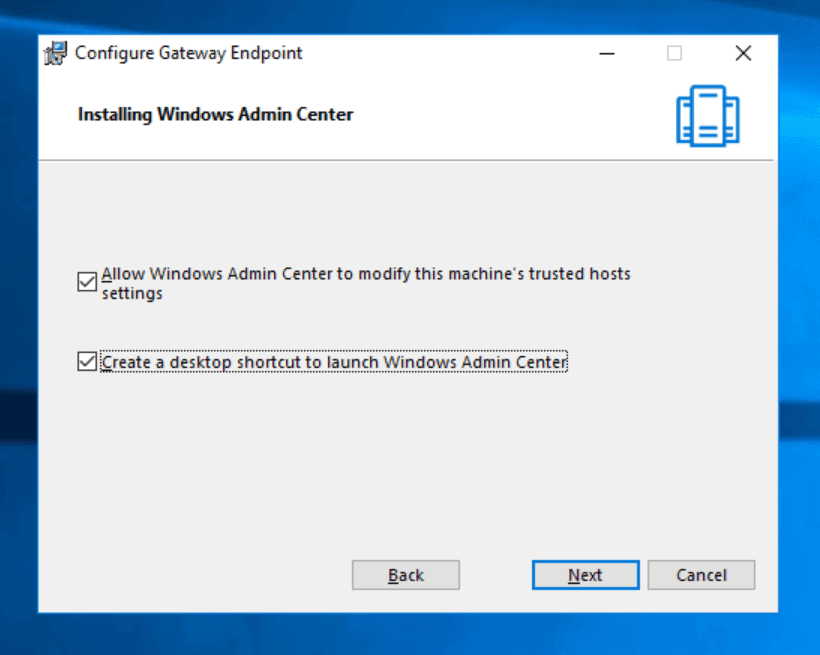
- On the second screen you really should leave the top checkbox checked, the bottom one is preference. Then click Next.
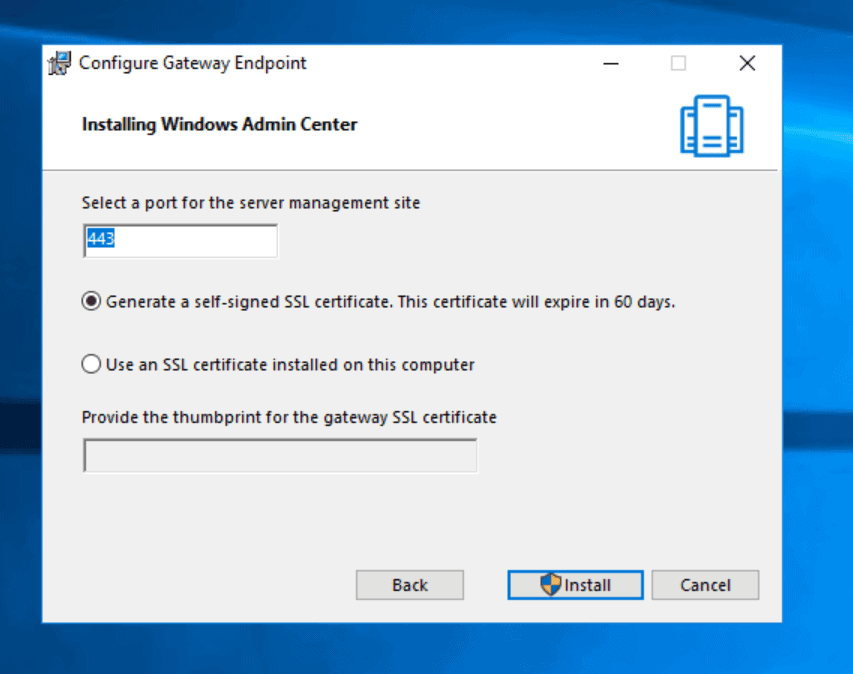
- Pick a port for SSL connections. Thankfully, there is no option for port 80 here, only 443. Leave it at default settings unless you have other SSL loads on this server, or you are gunning for security by obscurity. You can then either let the server generate a self-signed cert, or you can use a PKI cert. This is really your choice. If you’re talking about really putting this in production, you should use your own cert. Microsoft sets theirs for a short time frame (60 days) to try to force you to use your own, and also to upgrade if you don’t. Click Install.
- Click Finish.
Cool! Now for the fun part, let’s use it. If you put a shortcut on your desktop, you can double click it. As long as your default browser is something other than Internet Explorer (doesn’t support HTML5), it will open in that. Otherwise, go to https://servername.
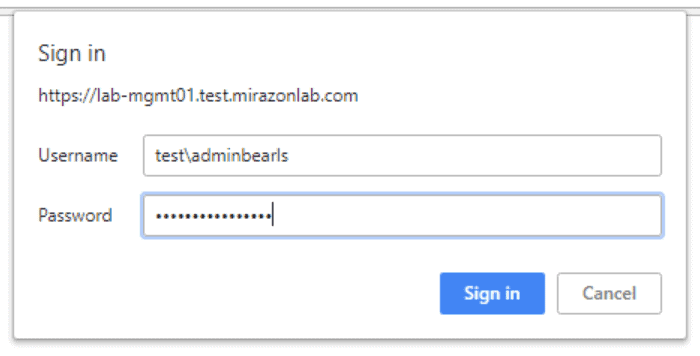
- Put in your credentials for the box you installed it on.
- You’ll be greeted with the opportunity to do a quick tour. Once you’re done with that, you go to a screen that shows the current environment, which is mostly white space:
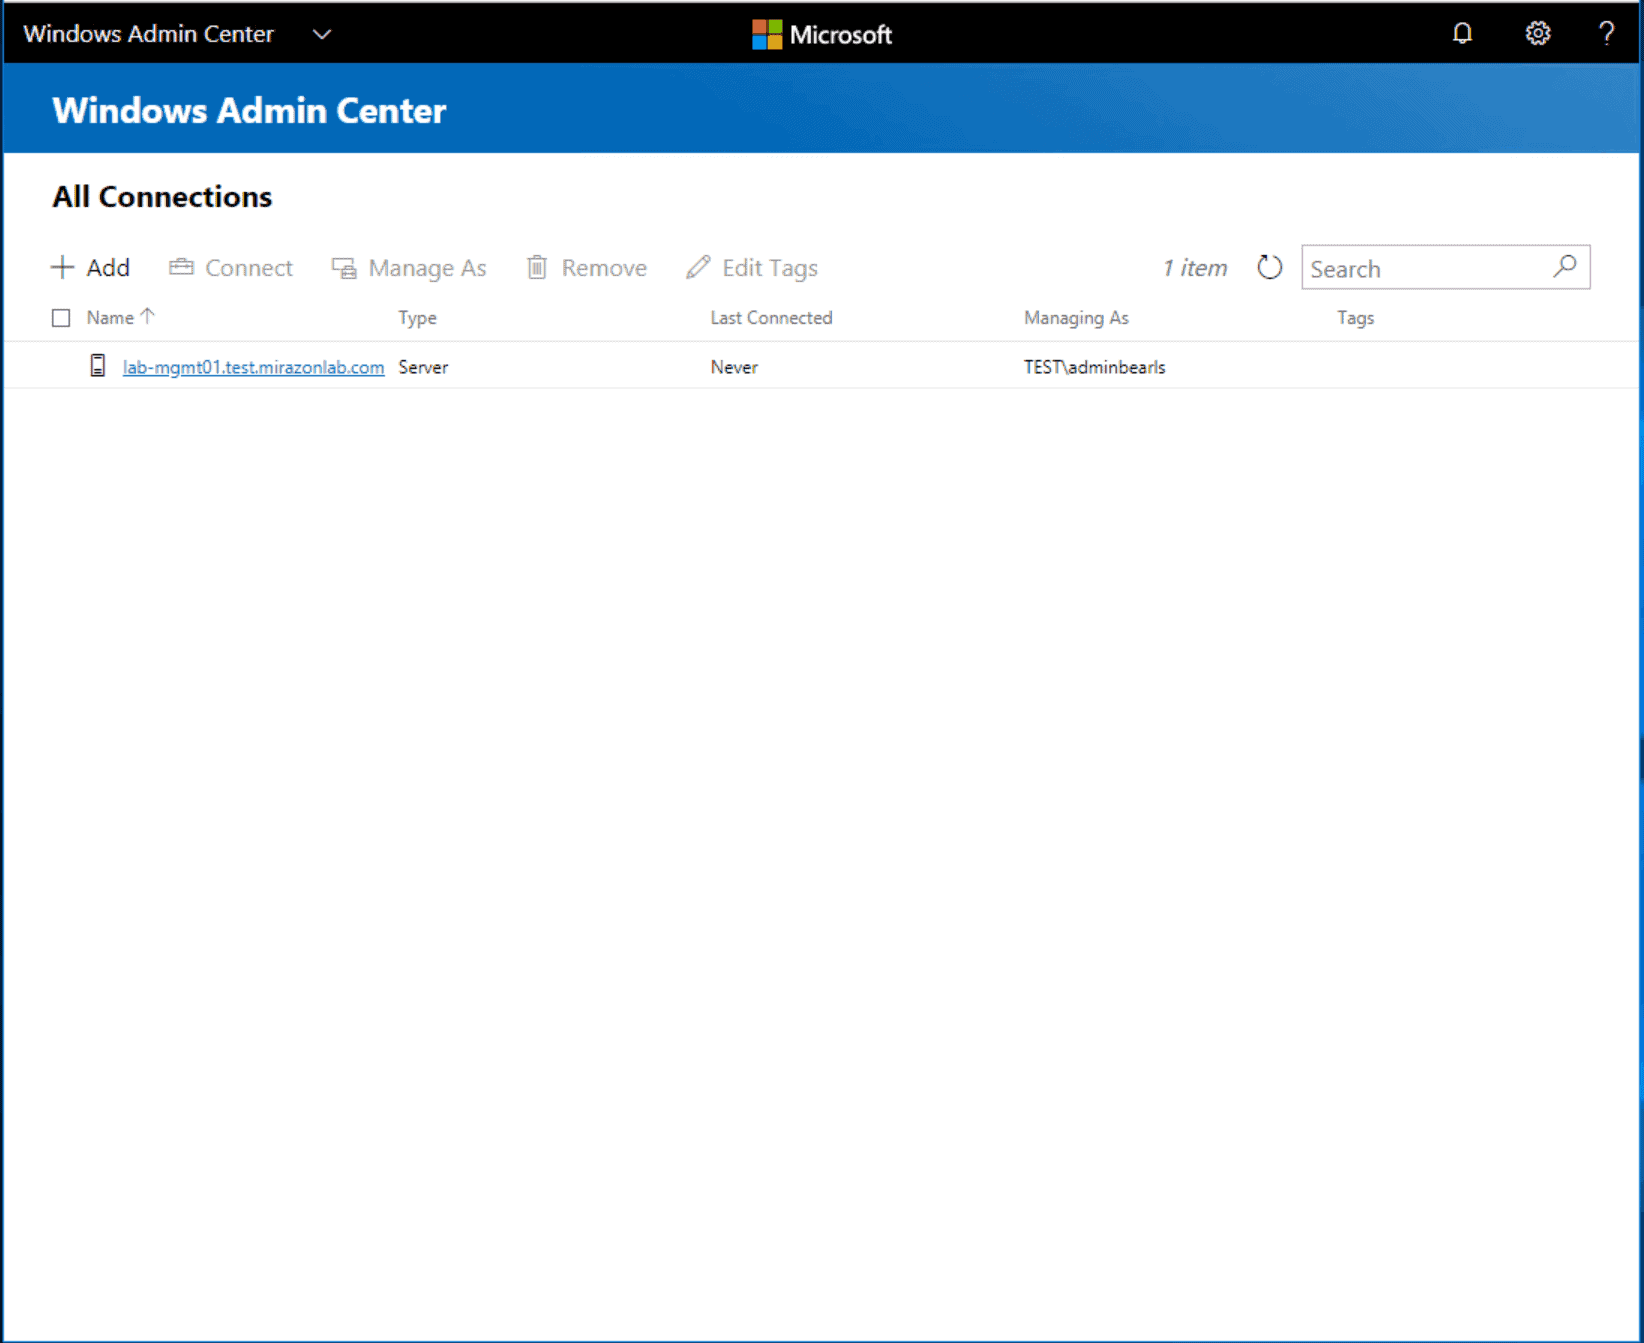
You’ll notice on the main page it says the server name, type, and then “last connected” as well as managed by. The last connected is noteworthy. At this point, even though it’s the server itself, it shows as never connected. This is important. WAC is stateless and only connects when you tell it to. It uses PowerShell, and WMI over WinRM on the backend to remotely connect and pull all of the data.
- If you then click on the server, depending on your browser you may have issues. At the current time, there is a known issue with certain versions of WAC and Chrome, where it will constantly prompt you for credentials. You’ll realize if that’s a problem immediately, or just use Edge or Firefox. After that you’ll get this beautiful screen:
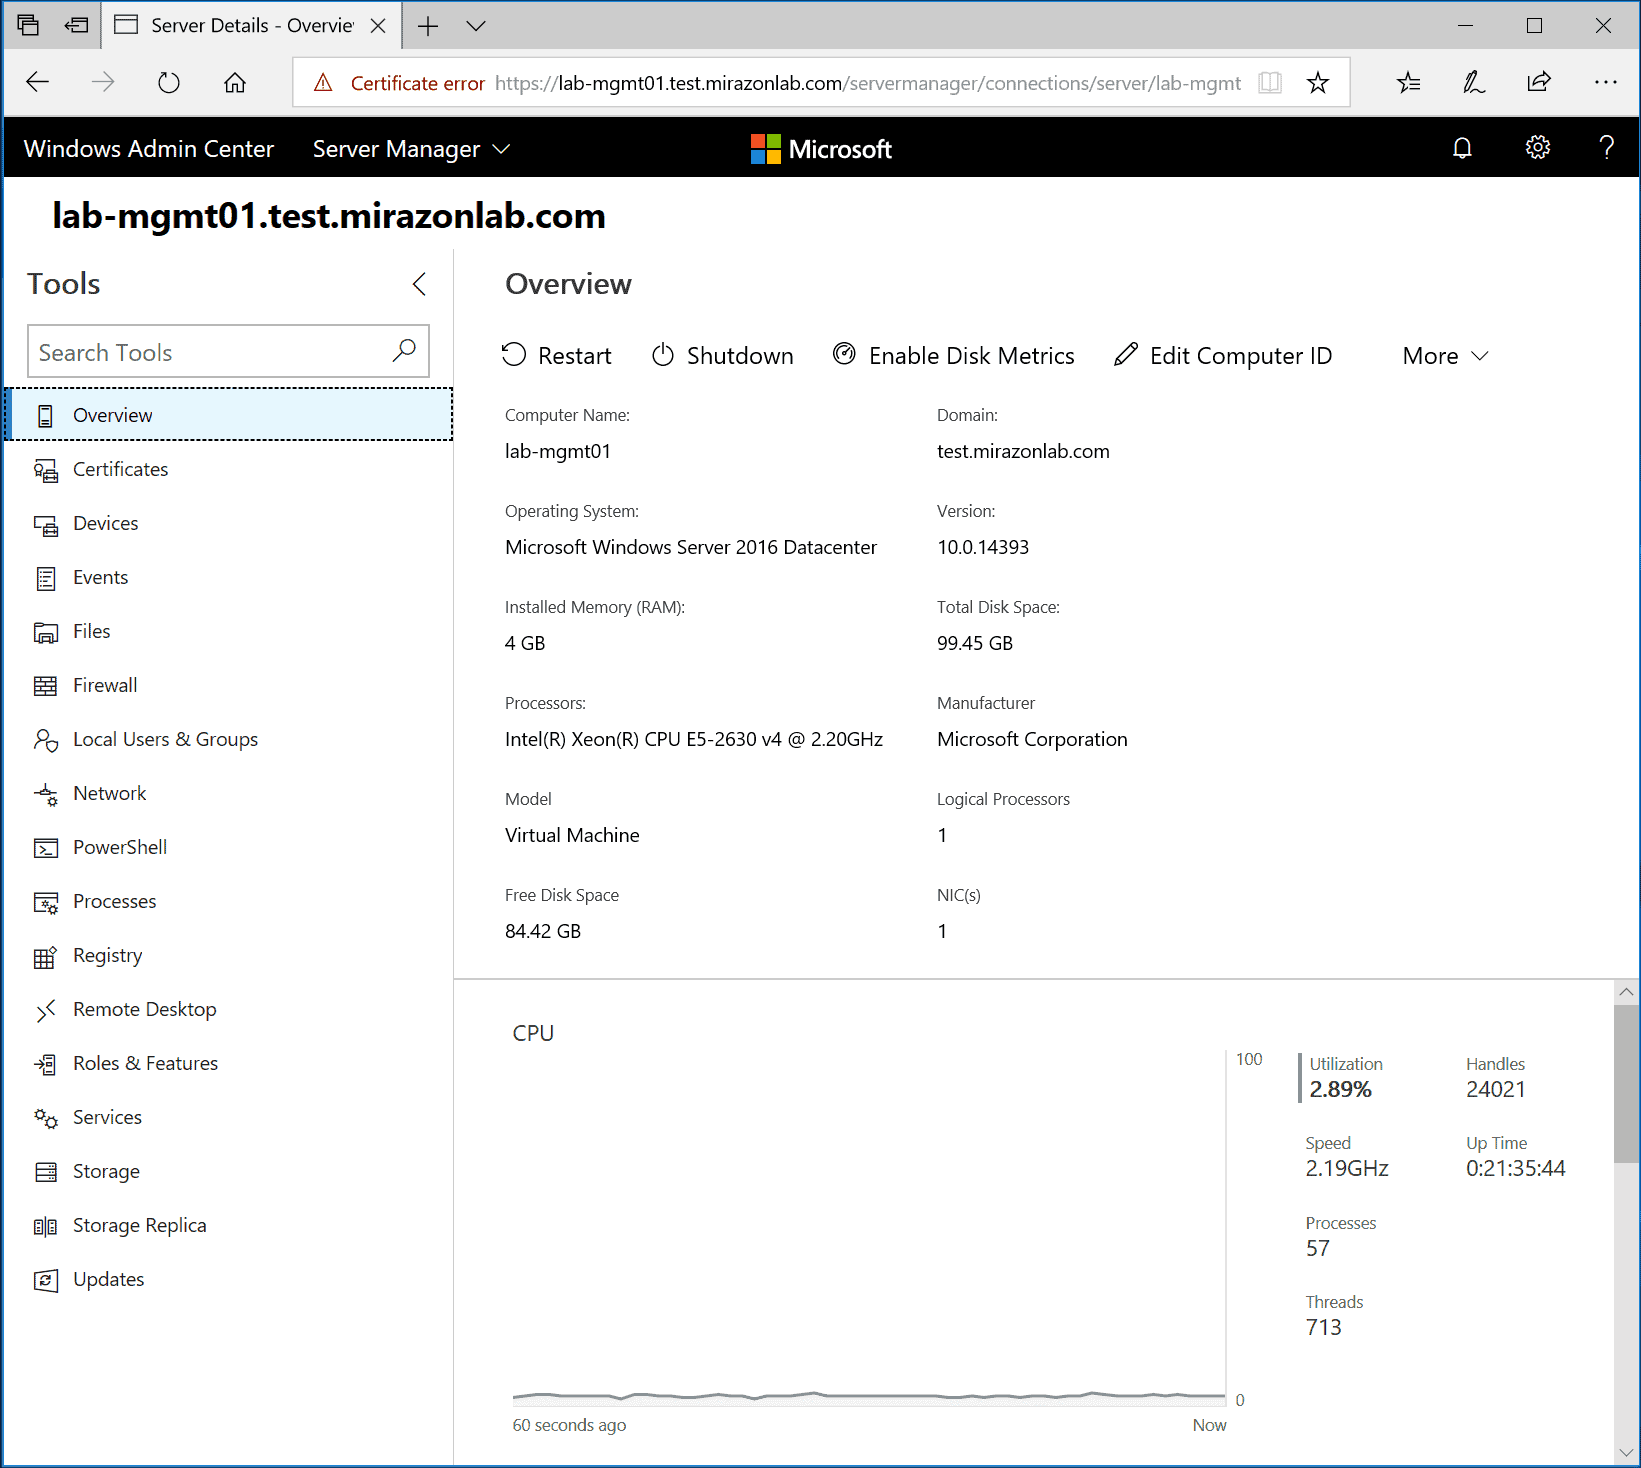
We’re immediately greeted by the high-level summary of our server. The name, version, domain, and vital machine specifications as well as a running performance graph of CPU, Memory (scroll at the bottom) and Ethernet (scroll at the bottom).
At the top we have the ability to restart, shutdown, turn on disk monitoring (shouldn’t be left on long term), and change the computer name/domain. The “More” dropdown has some additional settings related to environmental variables, enabling RDP and turning on Role-Based Access Control.
On the left we see a laundry list of various things we can do on this server. We’re going to go through all of them next time, just to fully show off the power of this new tool, and how feature rich it is already.