Reach Out – We're Listening!
Have questions or need assistance? Drop us a line – we can’t wait to meet you.
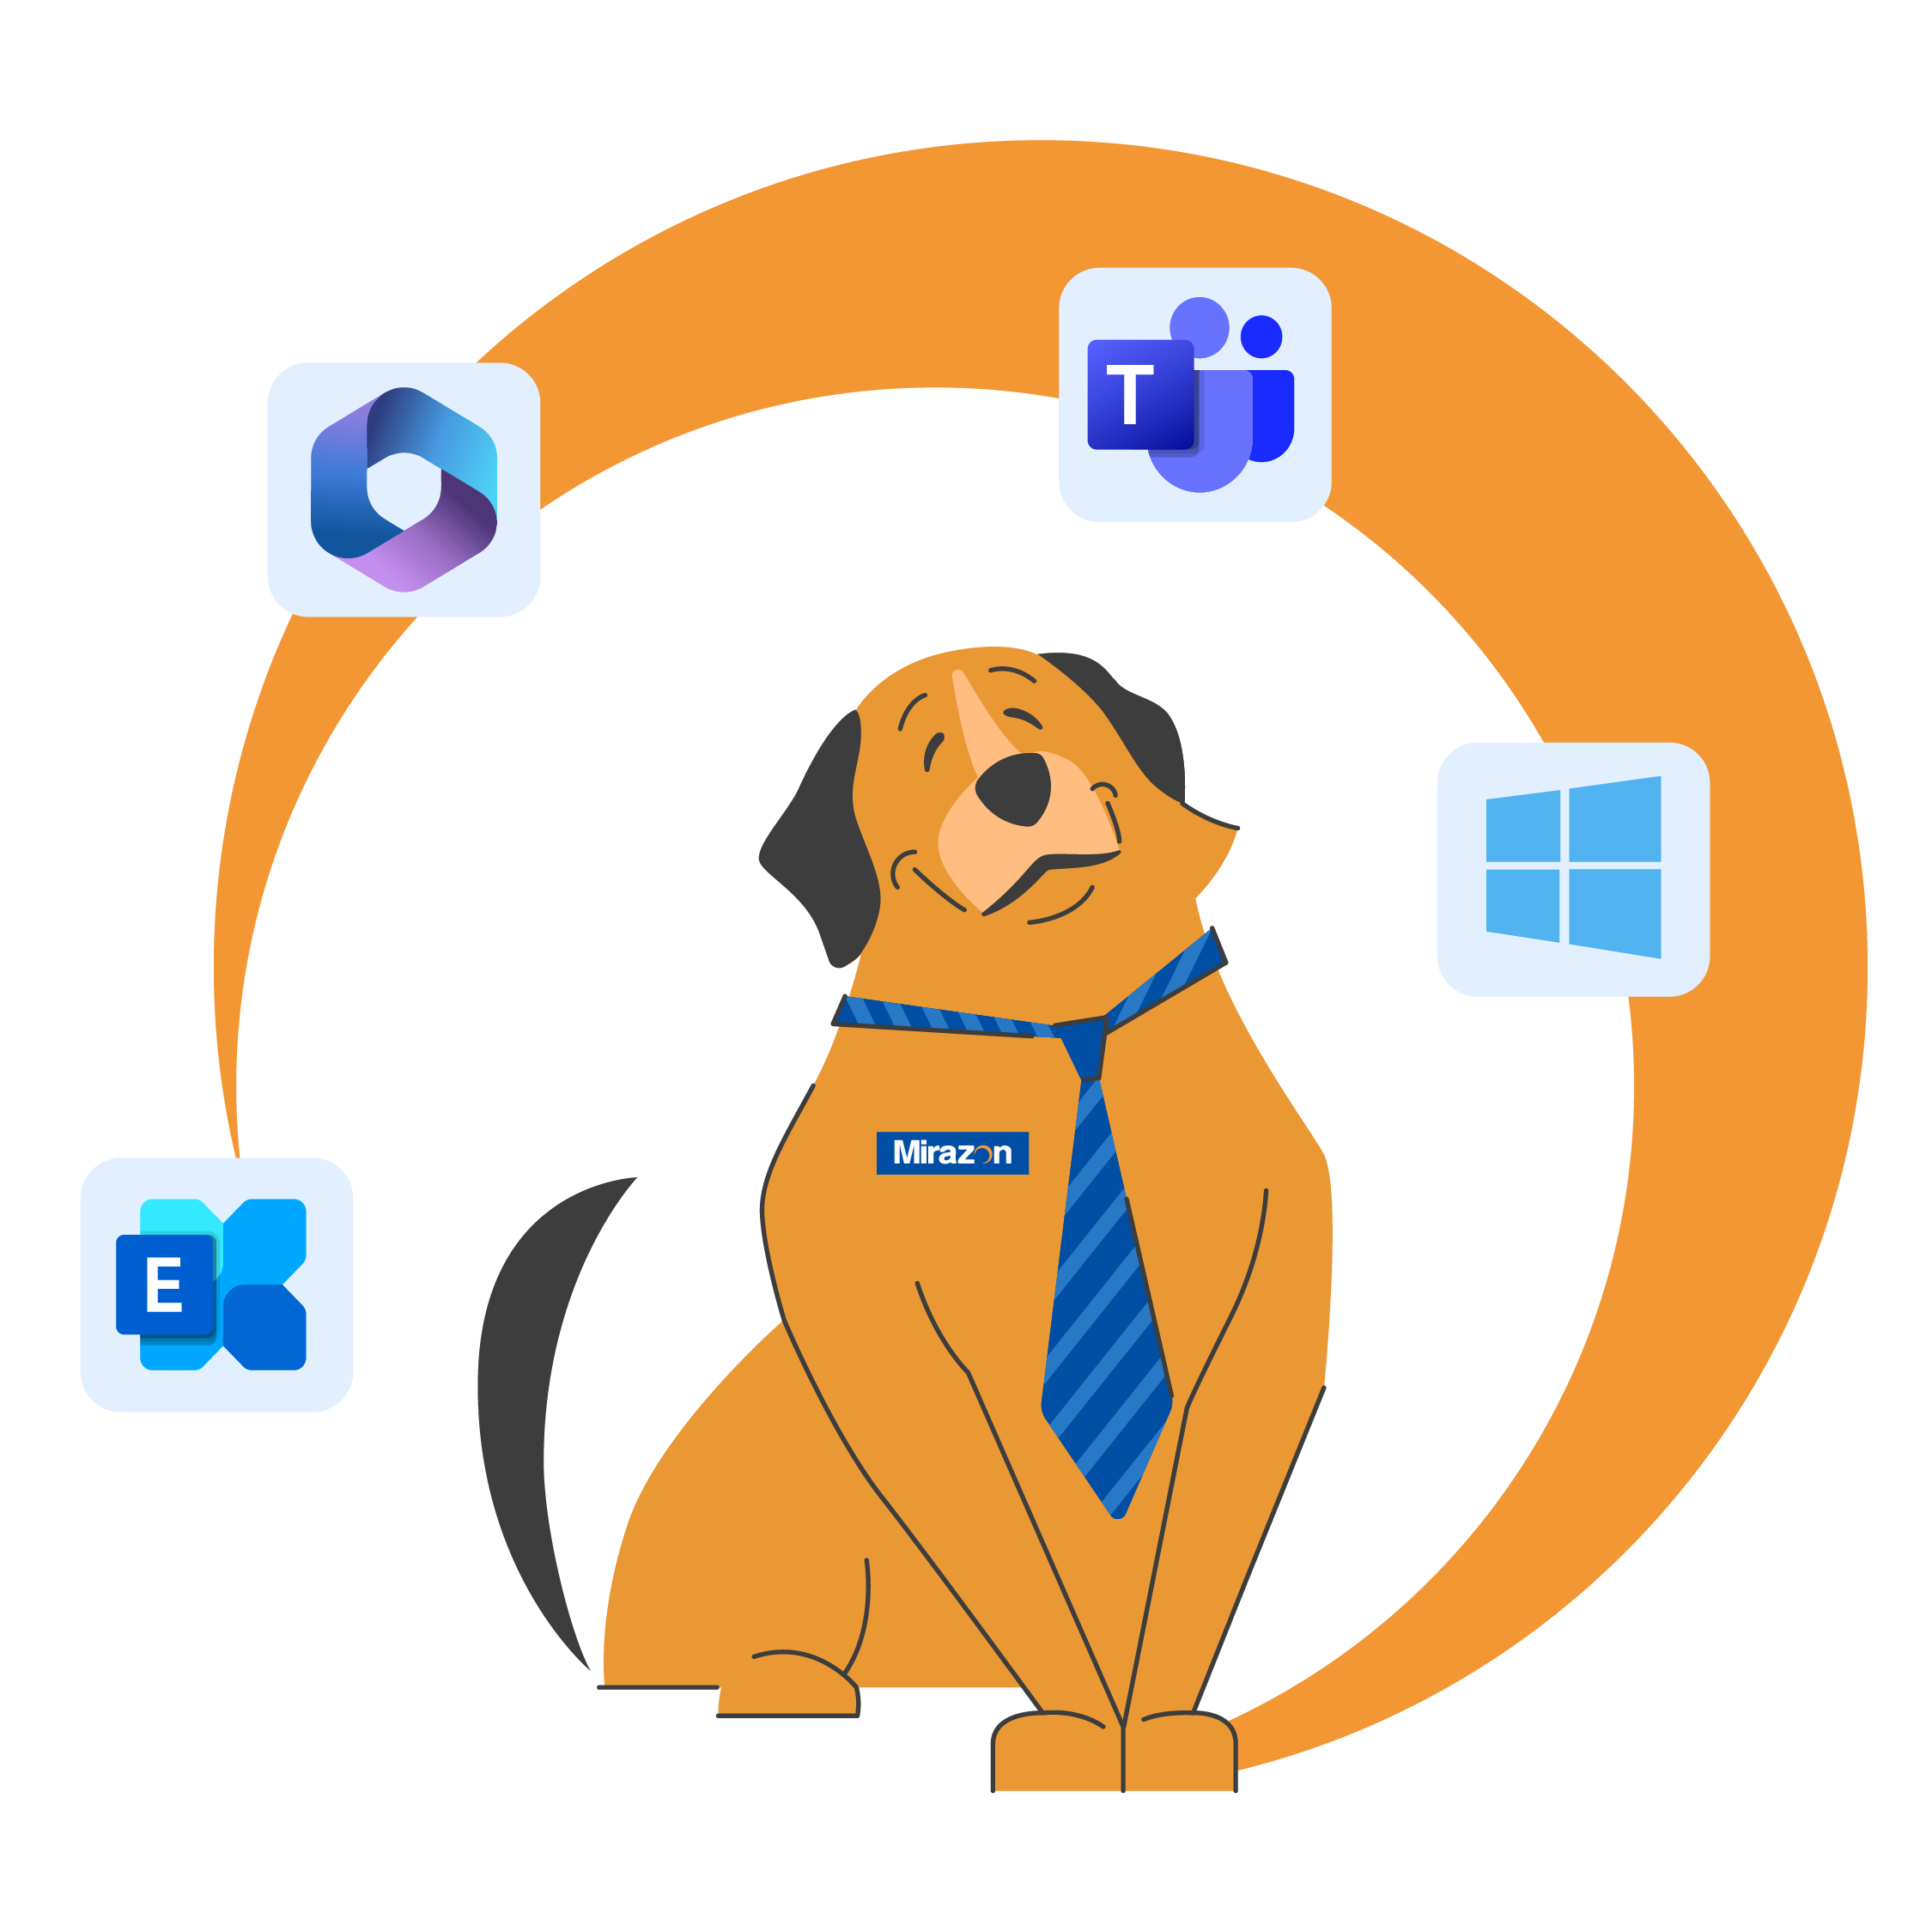
Headquartered in Louisville, Kentucky, we proudly deliver world-class IT support and solutions to customers across the nation.
Microsoft Solutions
As a Microsoft partner, our specialists are Microsoft trained, certified, and experts at leveraging cloud and on-premises platforms, such as Windows Server and Hyper-V, Microsoft Office 365, SharePoint, Azure, Teams, OneDrive, and more. All in a cost-effective package, your employees and IT infrastructure will have advanced security and the ability to seamlessly collaborate – allowing you to exceed business goals and maintain a competitive advantage.
We focus on providing business solutions that enable team members to collaborate more effectively by utilizing modern document management, analytics and dashboards, workflow, project management, sales collaboration tools, communication technologies, and other innovative solutions. At Mirazon, we specialize in crafting customized solutions to streamline your Microsoft 365 experience, leaving you with a comprehensive and efficient ecosystem.
Our Microsoft certified experts know the ins and outs of Microsoft for business, and can guide you towards the licenses you and your business need to work efficiently and exceed business goals. We can help you implement Microsoft 365 apps into your daily business processes or tighten security settings to protect your email and data.
We assist businesses in defending against cybersecurity threats that exploit security vulnerabilities in Microsoft 365, Azure or Windows Server. We stay up to date on the latest vulnerabilities, use Microsoft’s robust security features, and implement intelligent cloud services. Your security is our business.
We understand technical issues are a part of the IT lifestyle – and we’re prepared. Whether it be password issues, server errors, or problems with your operating system, our certified experts will be ready to handle anything you throw their way – so you can get back to business.
Headquartered in Louisville, Kentucky, we proudly deliver world-class IT support and solutions to customers across the nation. No matter what you need, we’ve got you covered.

Office is now Microsoft 365. Boost productivity with Microsoft Teams, Word, Excel, and PowerPoint—all in one location. And because it’s powered by the cloud, you can get to your applications and files from virtually anywhere.
Microsoft Teams is an enterprise-ready unified communications platform with a consistent, single-client experience for collaboration, presence, instant messaging, voice, video and a great meeting experience.
The latest and greatest Windows Server comes with a vast bevy of improvements and new features designed to make managing your server environment simpler and more powerful.

Get business email, calendar and contacts delivered on your PC, phone and browser. With a simplified approach to high availability and disaster recovery, achieve new levels of reliability and reduce complexity, while protecting sensitive and confidential information.
Offload workloads to Microsoft’s cloud, Azure, and experience the ease of scalability and geo-redundancy. Grant access to mission-critical functions anywhere to your organization.

Microsoft SQL Server is a cloud-ready information platform that will help organizations unlock breakthrough insights across the organizations and quickly build solutions to extend data across on-premises and public cloud.
Virtualize your environment with ease, already built into your Windows Server licensing. Manage it on your own through PowerShell, or utilize System Center or 5nine to aggregate your virtual management into one single pane of glass.

Traditional antivirus systems are incapable of keeping up with the current cyber threats in today’s world. Defender for Business assists you in identifying, defending against, detecting, and responding to complex cyberattacks – keeping your employees, business data, and IT infrastructure secure sing robust security features.
Mirazon has a staff of trained and certified licensing specialists. Not only do we track and notify you when you’re due up for licensing, we understand all the ins, outs and difficulties along the way. That way you get the right licensing for your business without overpaying.
Discover the magic that Microsoft 365 can offer your business and employees. You bring your imagination, and we’ll bring our unique perspective and expertise that will combine beauty and IT – resulting in solutions that go beyond the ordinary. Trust us, it’s no fantasy. Together, we’ll create something great that blends seamless functionality with a dash (or two) of elegance.
Trust Mirazon to guide you through the intricacies and complexities, turning challenges into opportunities.
Are you curious about the overall health and functionality of your business’s Office 365? Our Mirazon 365 team of experts can examine your tenant and deliver a report on our findings, along with any red flags we uncover. We’ll take the time to sit down with you and discuss points of concern, as well as our recommendations for what you can do to ensure an efficient, secure experience for your users (whether they be onsite or remote works) and business.

Mirazon’s Microsoft-certified licensing experts will save you time and money. We’ve discovered that by giving us only 30 minutes of your time, we can demonstrate how to effectively utilize your software installations and entitlements to maximize ROI and empower your employees with the tools they need. We’ll ensure you have everything you need, and nothing you don’t.

Mirazon has a range of solutions designed to assist businesses like yours in making the most of their Microsoft software. We can help you with improving your current environment, protecting your users’ data, establishing new services, implementing an endpoint security solution designed with rigorous protocols, and much more!
*Web Only
Need help figuring out which Microsoft 365 licensing you need? CHeck out our flow chart to help you navigate these intricacies, and reach out to us if you need additional information. We’ll make sure you have everything you need – and nothing you don’t.

Have questions or need assistance? Drop us a line – we can’t wait to meet you.
Headquartered in Louisville, Kentucky, we proudly deliver world-class IT support and solutions to customers across the nation.