
If you find yourself having difficulty trying to remember and keep up with all the tasks assigned to you in all of your Microsoft Planners, this brief tutorial may benefit you.
As you well know, Teams makes it super easy to integrate Planner. While this makes it a great place to access everything to do with your project in one place, it can cause you to have many disparate areas where you may have tasks. Is there an easier way than opening each Planner via each Team channel? The answer is yes!
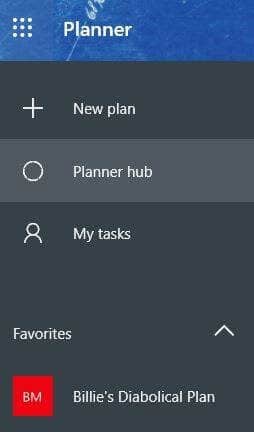
Here’s how: go to www.office.com and log in with your credentials. Select the Planner app.

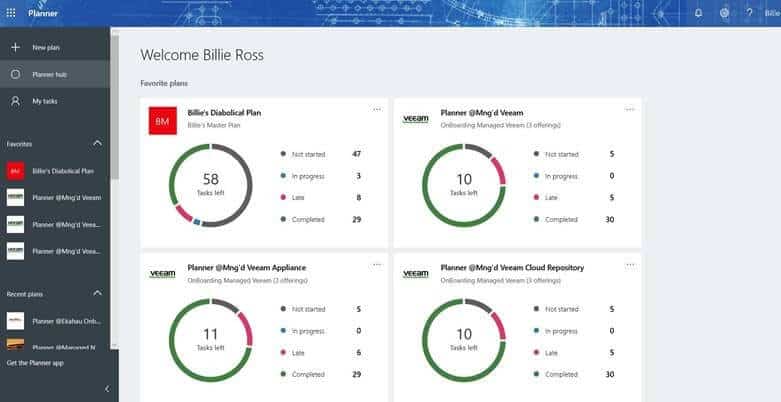
Welcome to the Planner Hub, where all the Planners you are a member of live happily together. You can view the progress charts for each Planner in progress.
Aggregating All Your Tasks In One View
If you select My Tasks from the left column, it will take you to all the tasks assigned to you. Please note: this will only show tasks assigned to you.
If you look to the upper right corner, you’ll see “Group by____________”
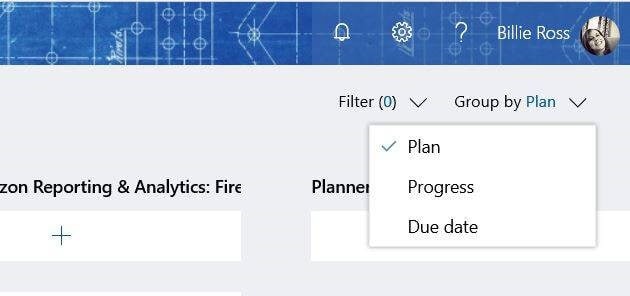
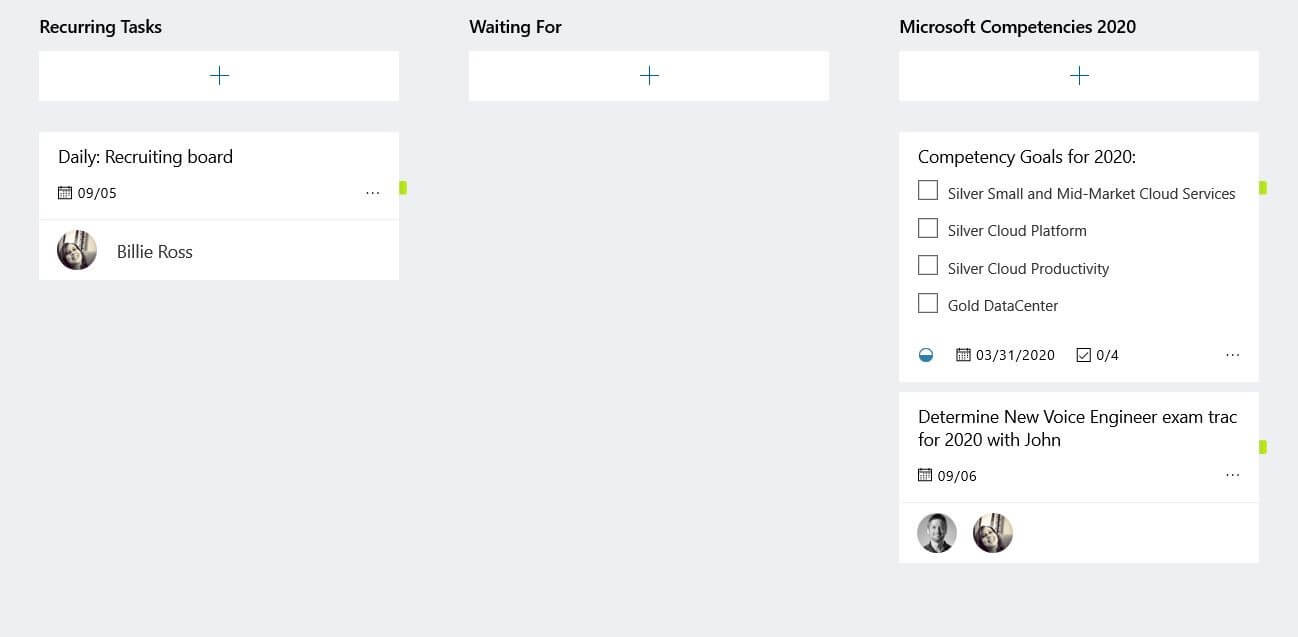
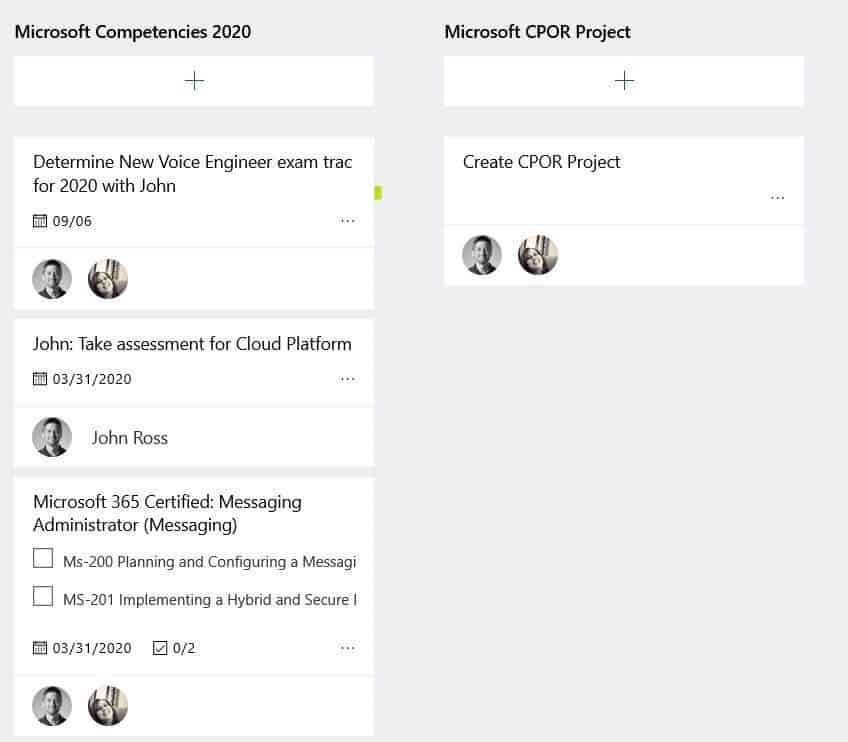
If you select Plan from the dropdown, your tasks will be shown to you according to the multiple plans you are a member of. All at once in one location.

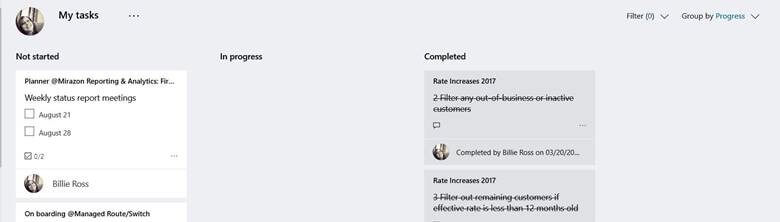
In the upper right corner, if you select Group by Progress, this will show your tasks — not by plan, but rather all the plans at once according to progress level. From the example below you see they are categorized by Not Started, In Progress, and Completed.
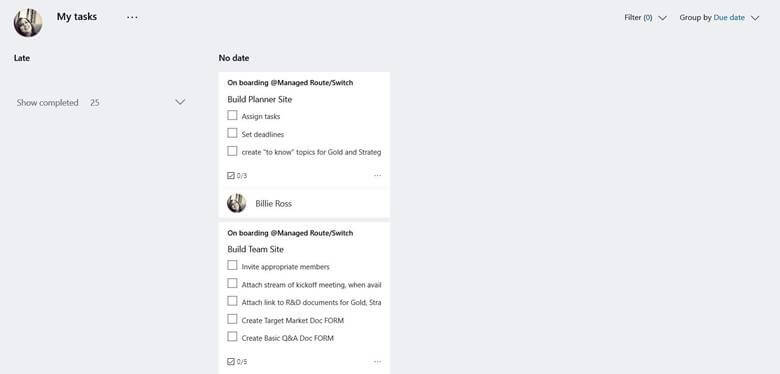
If you select Group by Due date in the upper right-hand corner, you see all of your tasks that are assigned to you AND that have a completion date assigned to them. They are categorized as Late and No Date.
View Your Planner Buckets In One Place
In addition to Grouping capabilities, there are also multiple filters you can apply across all of your Planner buckets.
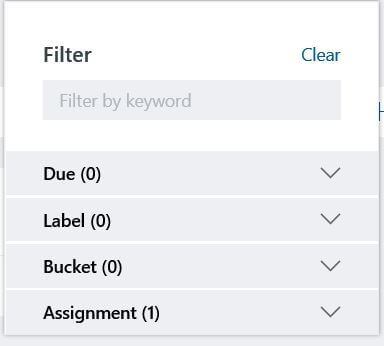
Again, in the top right corner, you will see “Filter.”
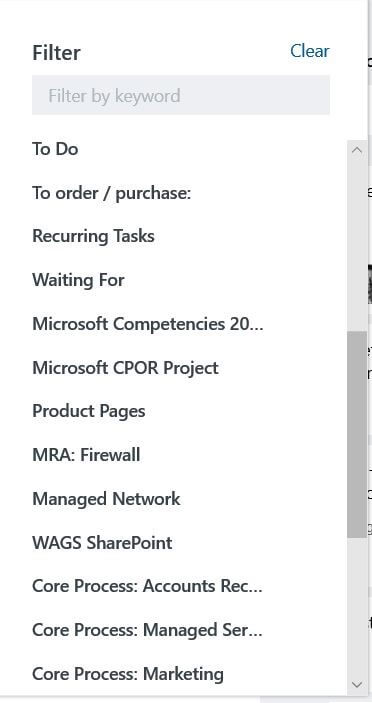
 Selecting the dropdown shows you all your filtering options. You can filter by Due, Label, Bucket, and Assignment. Or, if you are searching for a specific task but can’t remember which bucket it is in, you can also search by keyword. Planner will search all your tasks and deliver all task cards containing that keyword.
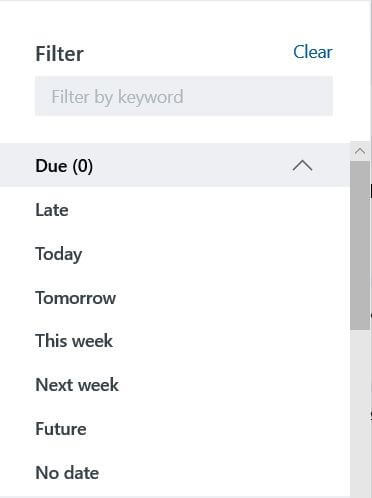
 Filtering by the Due option allows you to see tasks by the following selections: Late, Today, Tomorrow, This week, Next Week, Future and No date.
Filtering by Label will allow you to search according to colored labels you have assigned to Planner cards.
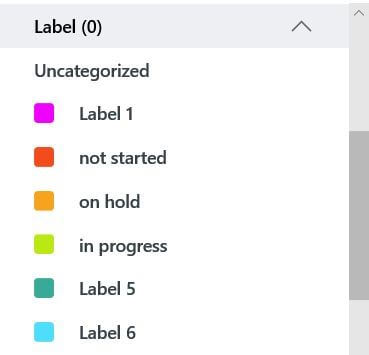 For example, if we search on the green label — named “In Progress”– Planner will only show cards labeled in this way.
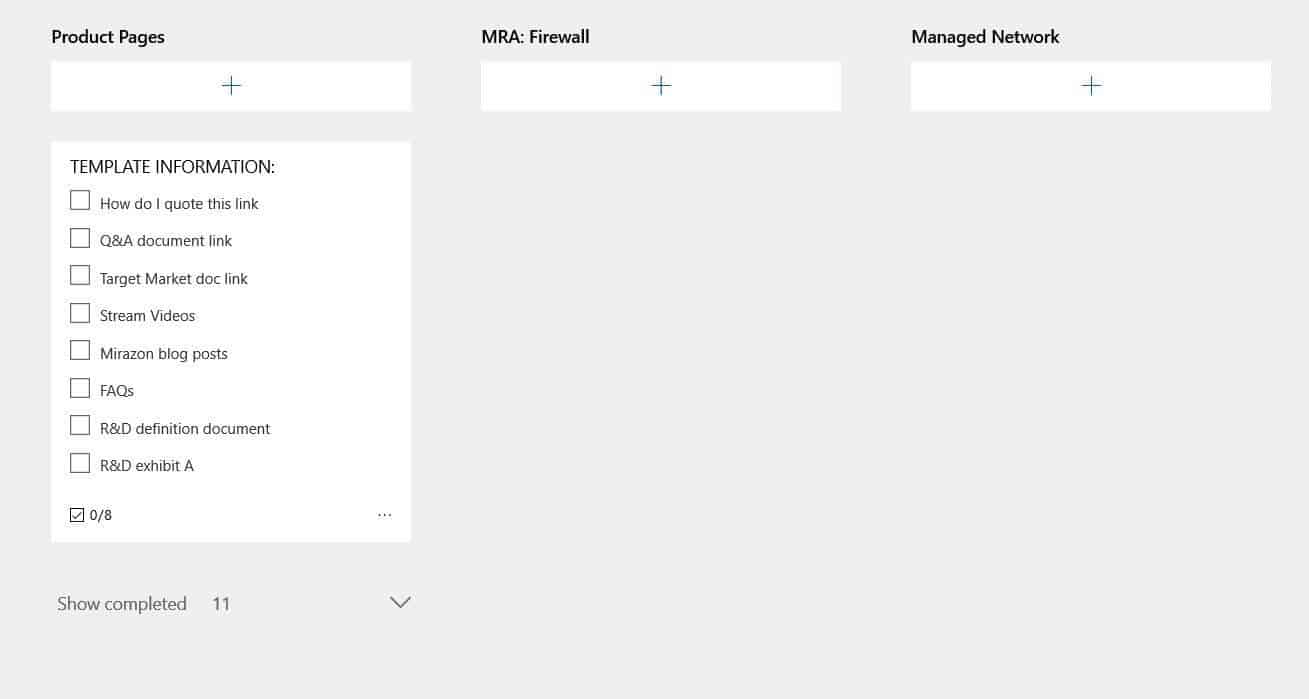
If we only wish to see the tasks assigned to a specific bucket, selecting the Bucket filter, will only show the tasks within that one bucket.
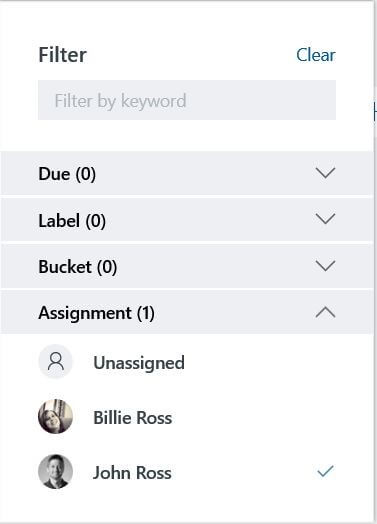
 Finally, when multiple team members are assigned within a plan, we have the capability of only seeing the tasks assigned to a specific team member. Select the filter, Assignment, and select the team member within your group for whom you wish to see tasks.
 Planner will then only show you tasks assigned to that person.
Adding Planner Tasks to Outlook Calendar
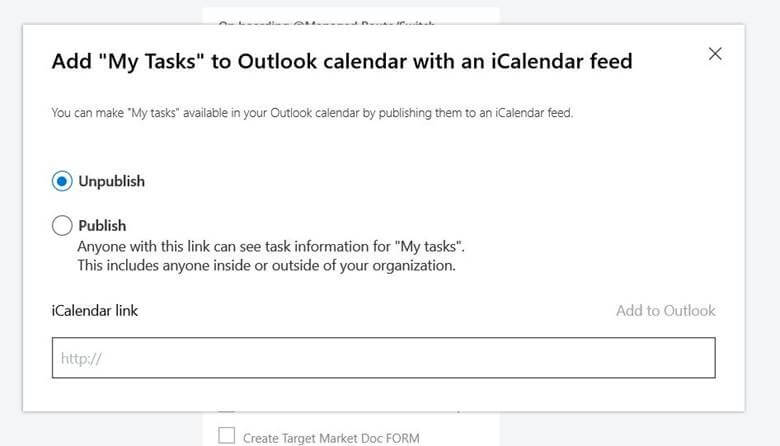
If, by chance, you are a person who wants their task reminders added to their Outlook calendar by due date, you can do that. Beside My Tasks, simply click the ellipses and select Add “My Tasks” to Outlook calendar.

You will be given the below pop up where you choose to publish your tasks. I personally do not add tasks to my calendar – too much clutter for me. But if that is something that interests you, I encourage you to try it.
There you have it! Some simple steps to help you make Planner work better for you.