
Proofpoint is our cloud spam filter solution of choice for a myriad of reasons: it’s affordable, it stays up to date with the latest threats, and it’s user friendly. So, let’s go through how you can access your spam emails and adjust your settings.
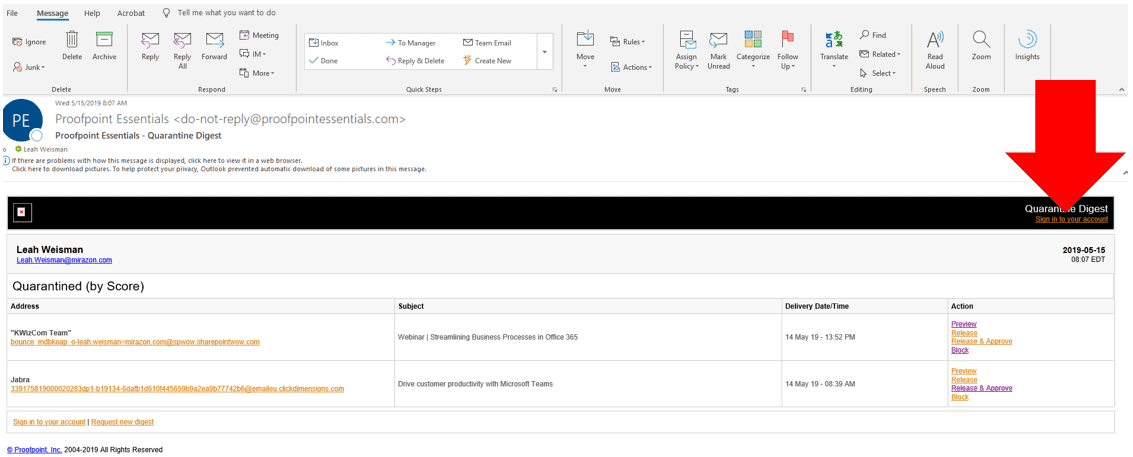
If Proofpoint catches spam before it hits your inbox, you’ll get an email digest that looks like this:
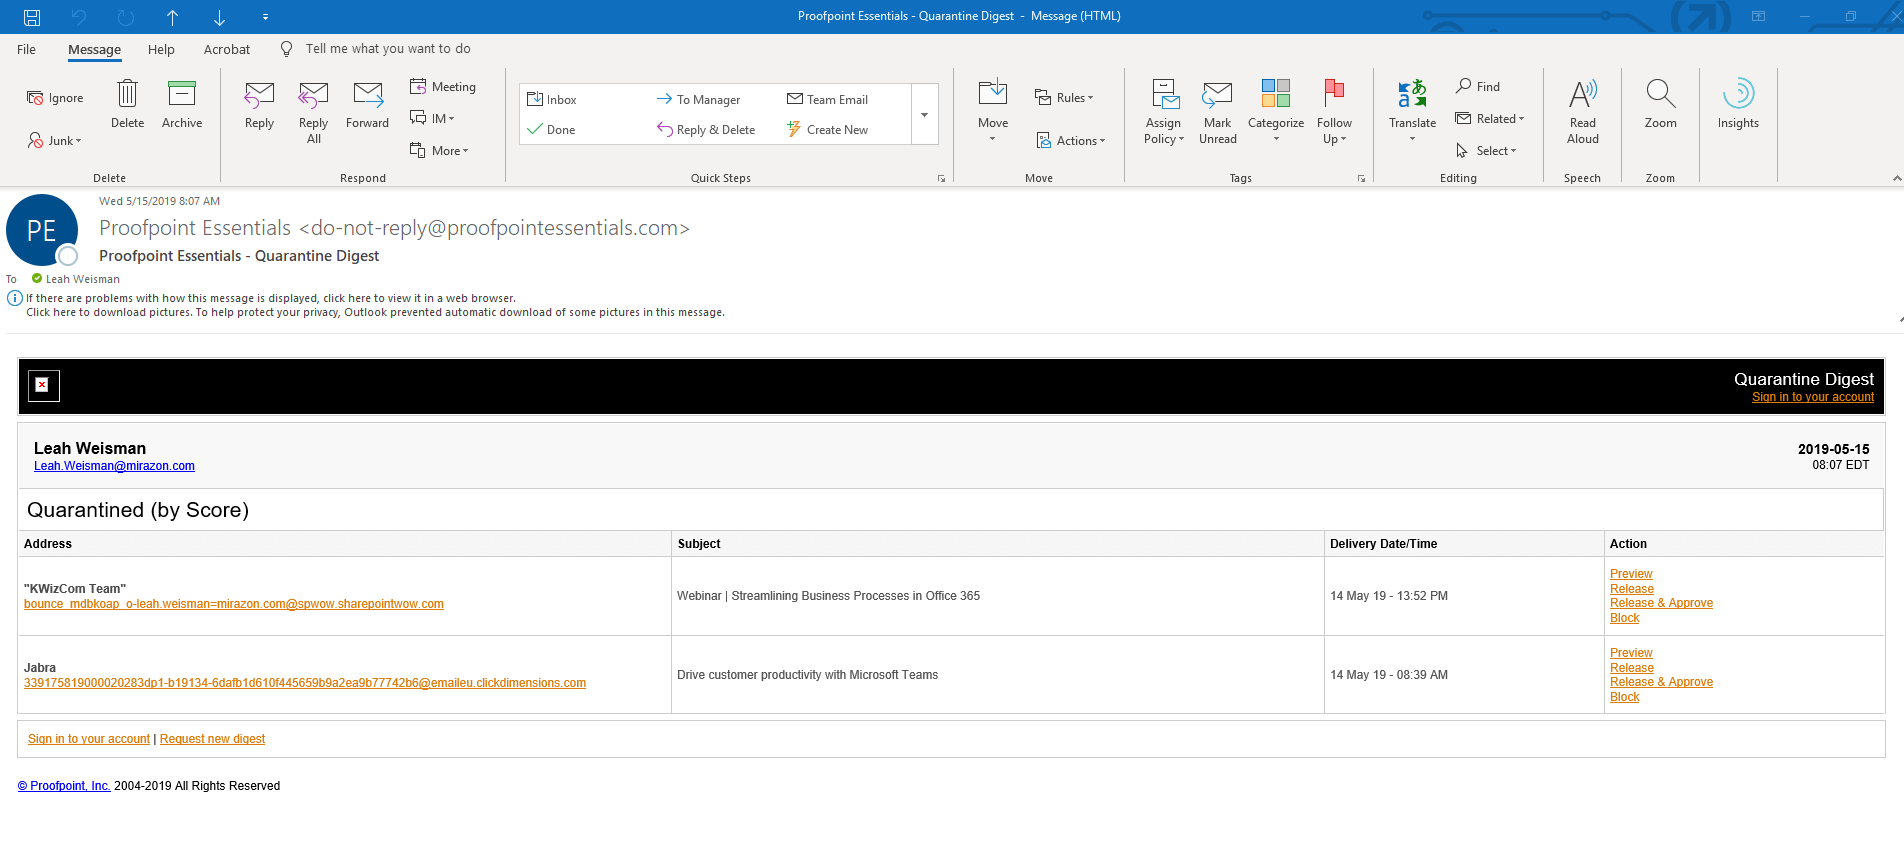
We have it set to come once a day in the morning, but these settings can be adjusted in your portal (I’ll show this later).
Above you can see I have a couple that are marked as spam. The first in the list doesn’t look familiar to me and I’m pretty sure I didn’t actually subscribe to this. Just to be sure, I can click Preview on the right and a new browser tab will open to show me a preview of this email in a safe manner:
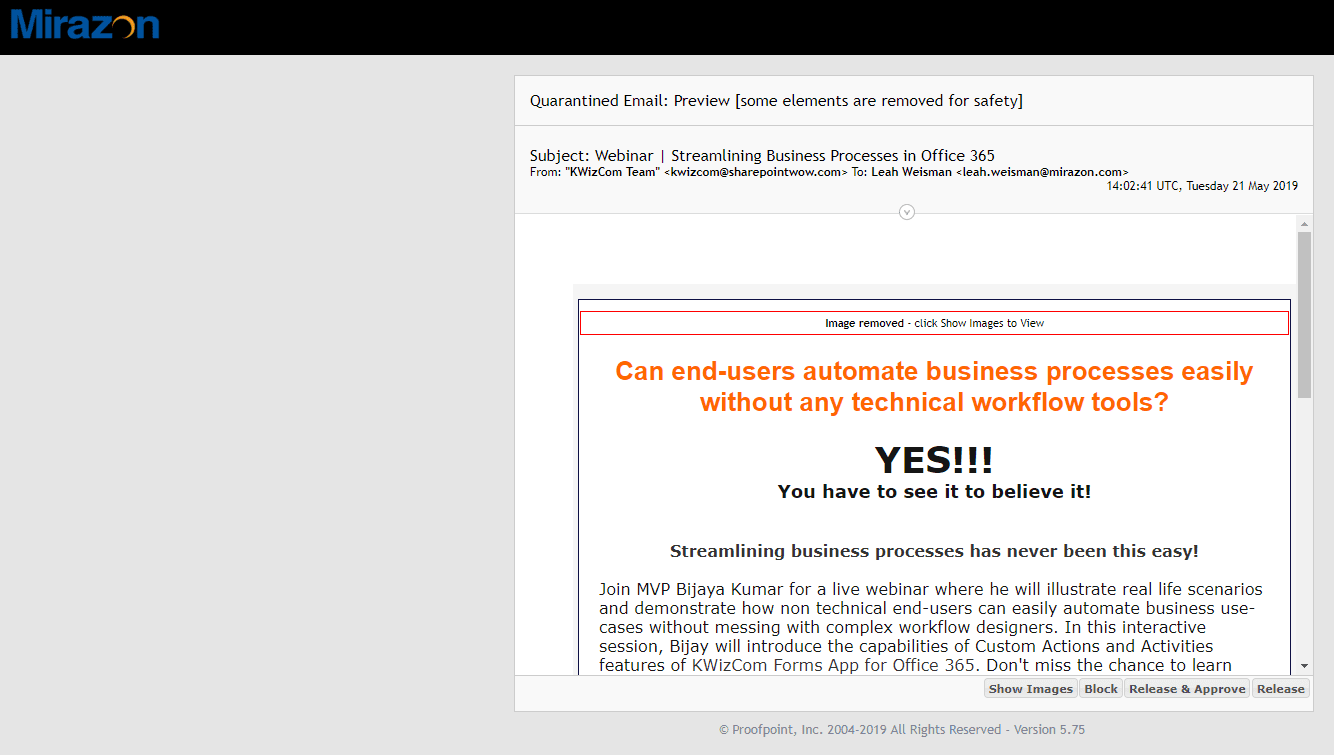
Yeah … that doesn’t look all too legit to me, so I’m going to block it.
However, we’re a Jabra partner and I don’t think that the second email on the list is spam. What I can do is go to the column on the right and select “Release & Approve” to allow the email into by inbox and whitelist the sender.
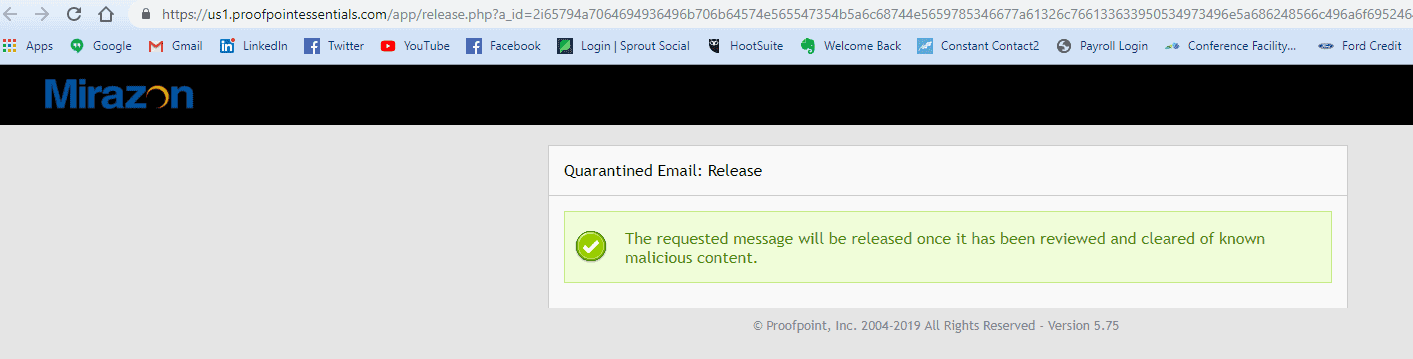
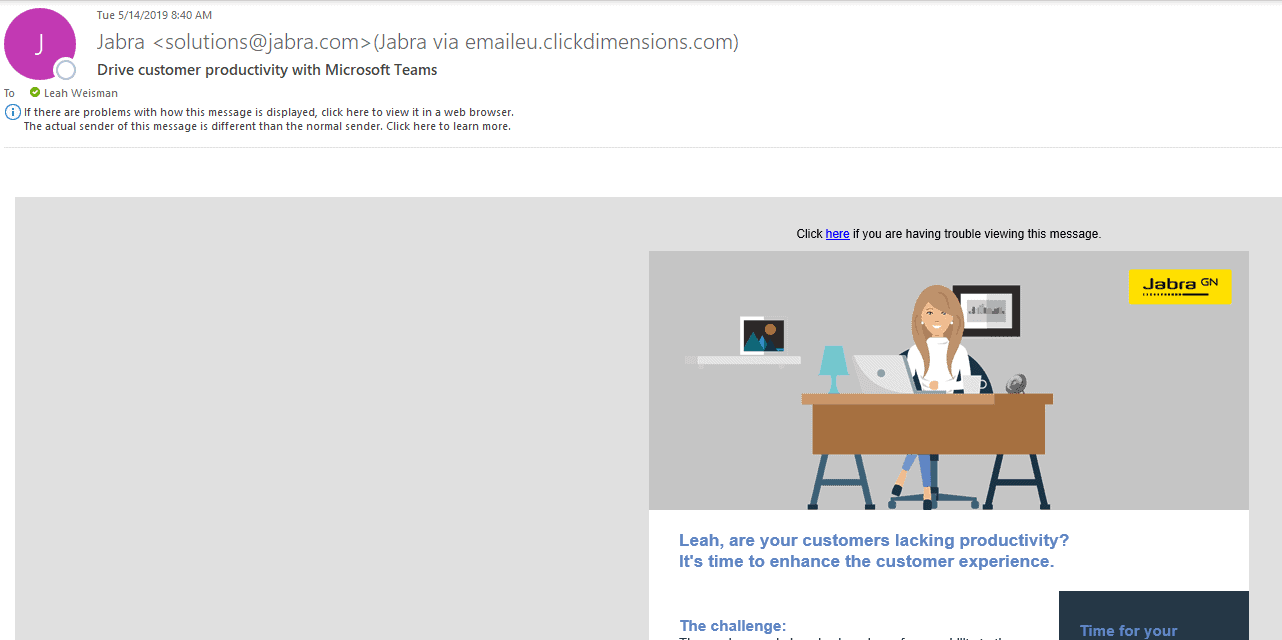
It opens up a browser tab and shows me this dialog box. And, lo and behold, it hit my inbox not moments later:
It’s all a very straightforward process.
You can also log into your user portal. Do this by clicking “Sign in to your account” at the top right of your digest email:
It will open a browser tab and ask you to log in. (Contact your helpdesk if you have trouble logging in.)
Once logged in, you’ll see something similar to this:
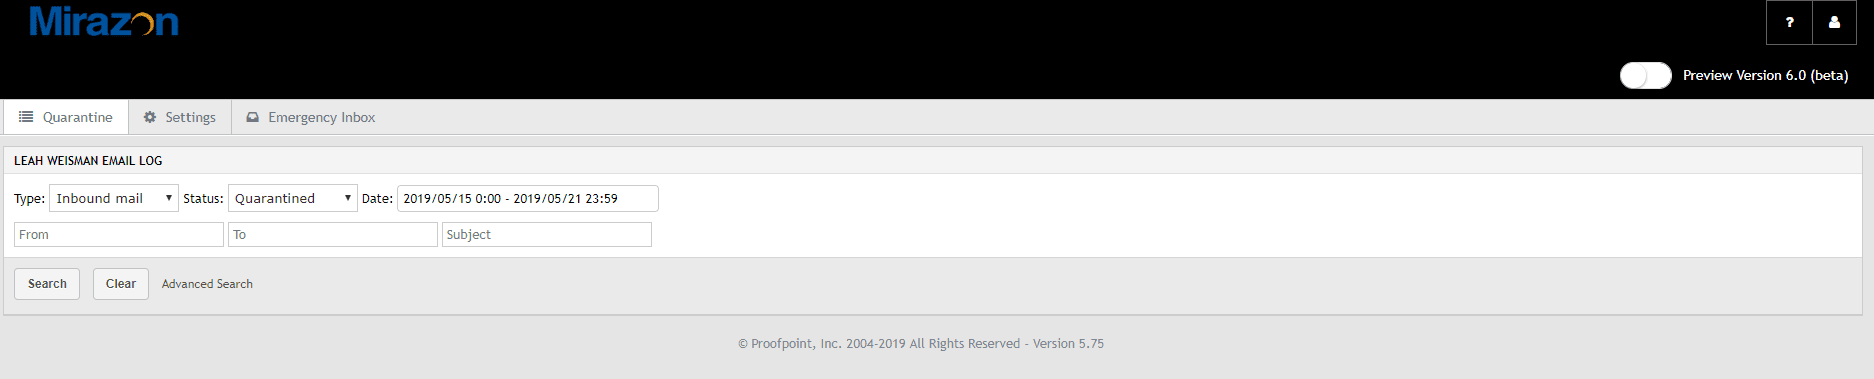
From here you can search through different categories to find emails and you can search back through up to a month’s worth (you can change this setting, too, but 30 days is the max) of emails.
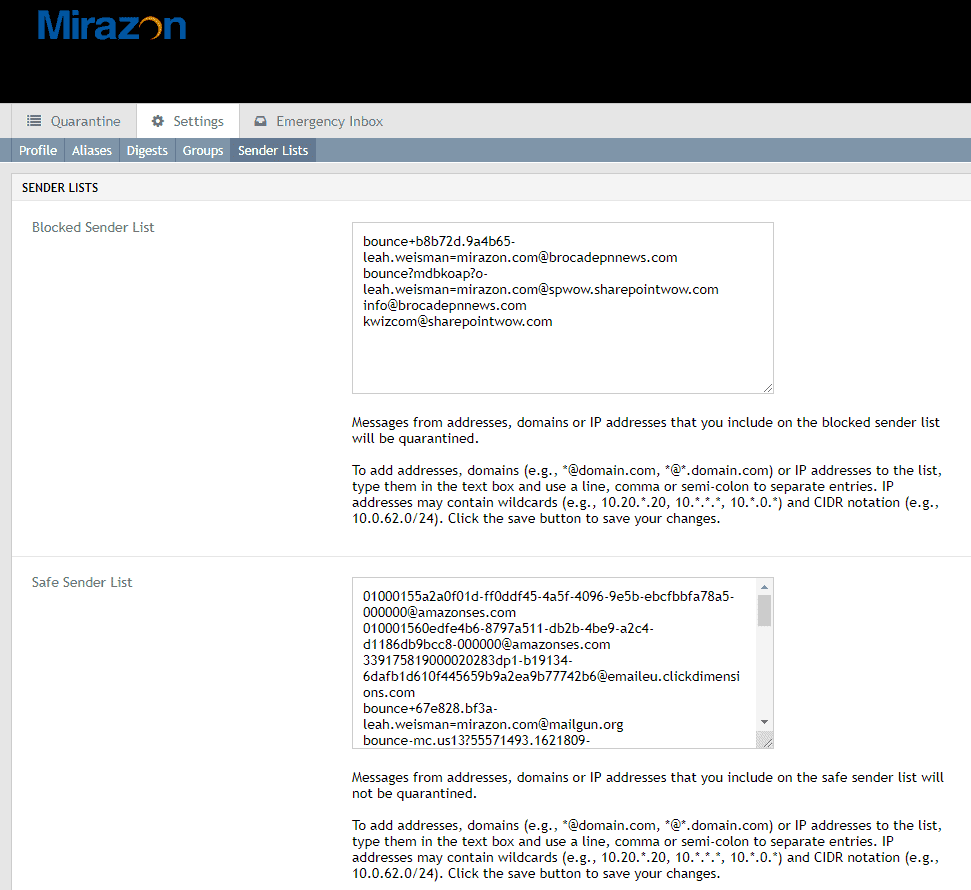
Go to Settings. Profile and Aliases probably won’t have a lot for you to mess with. If you go to Digests, you can modify your Proofpoint email cadence.

If you go to Sender Lists, you can see what you’ve already blocked or approved and can add to these lists if you want:
The last tab is Emergency Inbox, which is where you can access your email or have it be saved in the event of an Office 365 email outage.
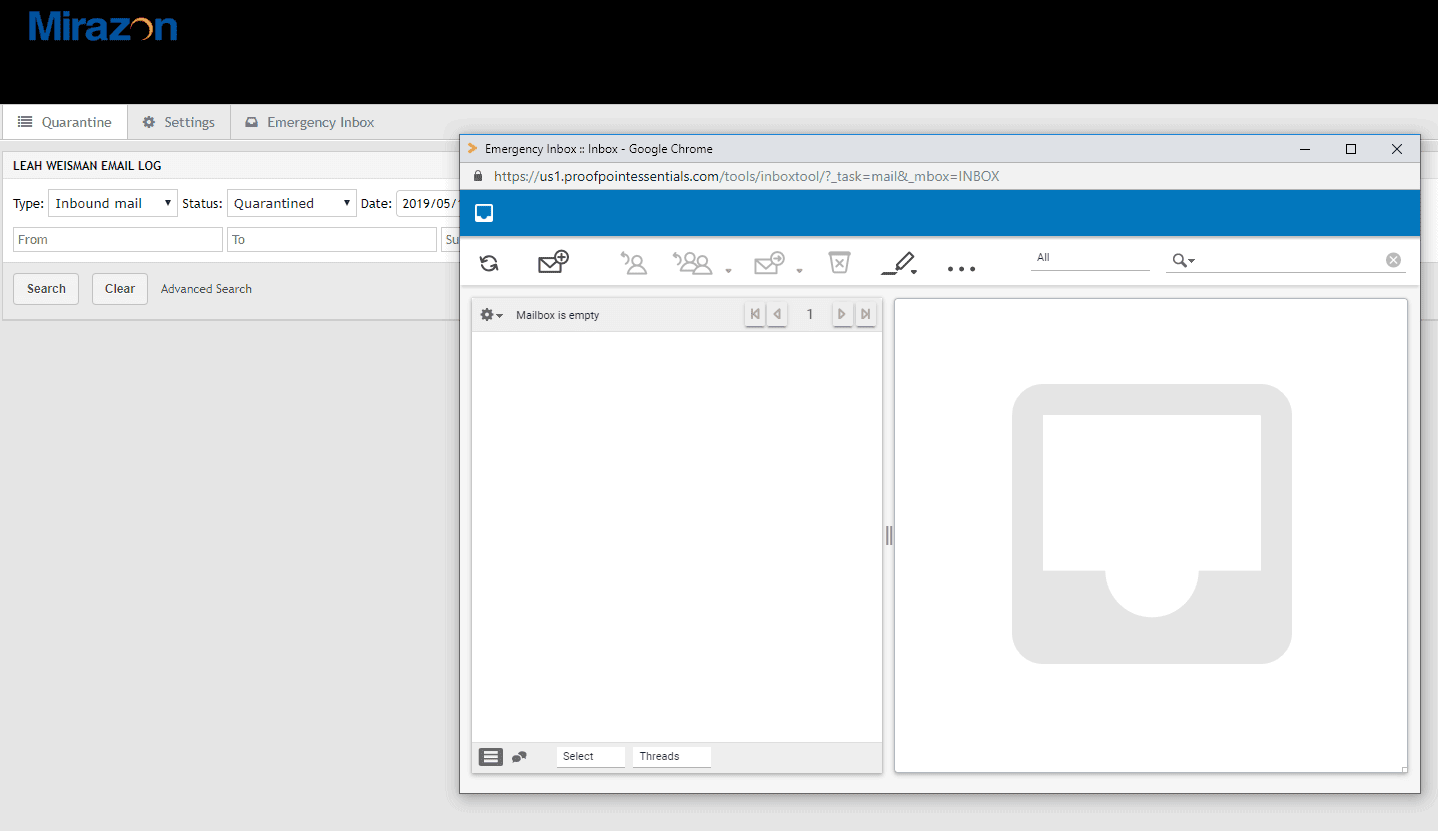
It appears as a pop-up window. Go here if you ever suspect your email services are having trouble and you might find messages stored temporarily.
And there are the basics! There are a few more settings but I urge you to leave those alone unless you’re very familiar with what they are or your IT support directly instructs you to make any changes there.